


Overview
What does the course cover?
The course takes users from building basic web sites – working with text, paragraphs and styles to building flexible layouts using CSS, templates and libraries and introduces the powerful Adobe Spry framework.

Aims
Why take this course?
As web design skills continue to increase in demand – the need for skills to create more powerful and versatile websites and to maintain them becomes ever more important. On completion of this course you’ll be able to design and build web pages incorporating templates, style sheets and frames.

Audience
Who would benefit?
Professional designers familiar with DTP or Graphics software needing to get to grips with this powerful web design tool. Strong Windows skills are assumed but no previous web skills required.
Course Preview
Each course contains high quality, professional video lessons, downloadable exercise files and real-world templates for you to use.


Course Details
Section 1: Introduction
- Lesson 1: Overview
- Lesson 2: Overview of Dreamweaver Interface
- Lesson 3: Overview of Cascading Style Sheets (CSS)
- Lesson 4: Creating a Site
- Lesson 5: Creating pages in a Site
- Lesson 6: Review of HTML basics
Section 2: Basic Formatting
- Lesson 1: Overview
- Lesson 2: Creating Headings
- Lesson 3: Applying Bold and Italics to content
- Lesson 4: Ordered and Unordered Lists
- Lesson 5: Fundamentals of creating a CSS file and applying styles
- Lesson 6: Using embedded styles on a page
- Lesson 7: Chapter recap
Section 3: Hyperlinks
- Lesson 1: Overview
- Lesson 2: Creating links between pages on the same site
- Lesson 3: Creating links to pages on the World Wide Web
- Lesson 4: Hyperlinks that send an e-Mail
- Lesson 5: Hyperlinks to a position on a page
- Lesson 6: Styling hyperlinks using CSS
- Lesson 7: Chapter recap
Section 4: Working with Images
- Lesson 1: Overview
- Lesson 2: Adding images to a site and a page
- Lesson 3: Adding images using drag and drop within Dreamweaver
- Lesson 5: Creating rollover images
- Lesson 4: Images as hyperlinks and Image Maps
- Lesson 6: Using images as backgrounds to content
- Lesson 7: Using images to replace the default bullet point in lists
- Lesson 8: Inserting Flash content onto our pages
- Lesson 9: Chapter recap
Section 5: Tables
- Lesson 1: Overview
- Lesson 2: Adding a HTML table to a page
- Lesson 3: Modifying table properties on a HTML page
- Lesson 4: Styling tables using CSS
- Lesson 5: Chapter recap
Section 6: Forms
- Lesson 1: Overview
- Lesson 2: Basics of inserting a form onto a page
- Lesson 3: Basics of form controls
- Lesson 4: Building the Enquiries form
- Lesson 5: Adding checkboxes and radio buttons
- Lesson 6: Adding lists, buttons and labels to the form
- Lesson 7: Using online form submission services
- Lesson 8: Chapter recap
Section 7: Templates
- Lesson 1: Overview
- Lesson 2: Reasons for using Templates
- Lesson 3: Creating a Template
- Lesson 4: Adding Editable Regions and creating pages from our Template
- Lesson 5: Adding Optional Regions and setting Template properties
- Lesson 6: Rebuilding our site using our Template
- Lesson 7: Adding Repeating Regions and Repeating Tables
- Lesson 8: Chapter recap
Section 8: Layouts
- Lesson 1: Overview
- Lesson 2: Designing our layout on paper
- Lesson 3: Review of CSS formatting
- Lesson 4: Creating a basic layout using the div tag, style ids and floats in CSS
- Lesson 5: Creating our site layout
- Lesson 6: Other uses of layouts
- Lesson 7: Dreamweavers own built-in layouts
- Lesson 8: Chapter recap
Section 9: Spry
- Lesson 1: Overview
- Lesson 2: Adding a Spry Menu
- Lesson 3: Spry Menu component and CSS
- Lesson 4: Spry form field validators
- Lesson 5: Other Spry components
- Lesson 6: Chapter recap
Section 10: Publishing
- Lesson 1: Overview
- Lesson 2: Publishing our site to a web server using ftp
- Lesson 3: Getting an existing site from a web server
- Lesson 4: Other publishing options
Section 11: General Dreamweaver Housekeeping
- Lesson 1: Overview
- Lesson 2: Troubleshooting publishing
- Lesson 3: Assets Panel
- Lesson 4: History Panel
- Lesson 5: Image resizing issues
- Lesson 6: Link Checker
- Lesson 7: Code Navigator

Skills You’ll Learn
What you’ll be able to do after the course
- Understand web graphic formats
- Create sites using CSS
- Work with frames and frame-sets
- Use layers effectively
- Use Adobe’s Spry framework

How You Can Apply These Skills
What you’ll be able to use these skills for
- Build fast web pages
- Build interactive forms
- Create and edit websites
- Design style sheets
- Use styles sheets to maintain consistent look of web pages
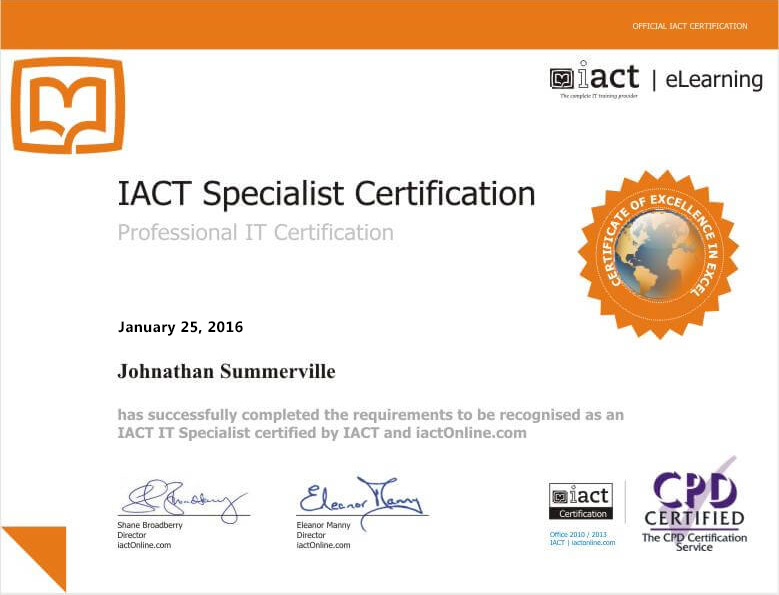
Certification
When you pass you will receive an internationally recognized accreditation certificate like this:

What’s next?
Upon completion, you can move onto our other Web Design courses such as Flash and HTML & CSS.

Careers that require these skills at this level?
Dreamweaver is used in practically every Web design agency. Any Web Design role will require you to be proficient to this level.

Want to start learning today?
Joining is simple, easy and risk free with our 7 day money back guarantee.

