Overview
What does the course cover?
This course teaches how to use this presentation tool to its best advantage. The course will explain how to harness PowerPoint to produce eye catching, effective and professional presentations that look a step above the rest.
Course Preview
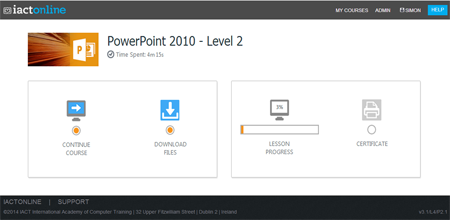
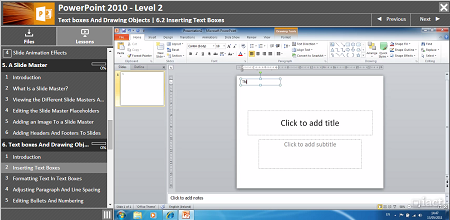
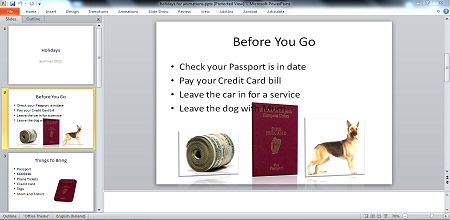
Each course contains high quality, professional video lessons, downloadable exercise files and real-world templates for you to use.


Course Details
Section 1: Introduction to PowerPoint
- Lesson 1: Introduction
- Lesson 2: Starting PowerPoint
- Lesson 3: The Sections Visible On the Powerpoint Interface
- Lesson 4: Creating a Presentation Using a Built In Template
- Lesson 5: Creating a Presentation From a Blank Slide
- Lesson 6: Getting Around an Existing Presentation
Section 2: Working with Slide Views
- Lesson 1: Introduction
- Lesson 2: Switching View Modes
- Lesson 3: The Slide and Outline Panel In Normal View
- Lesson 4: Working Directly On a Slide In Normal View
- Lesson 5: Rearranging Slides In Slide Sorter View
- Lesson 6: Adding Notes To a Slide
- Lesson 7: Showing a Presentation In Slide Show View
Section 3: Slide Layout
- Lesson 1: Introduction
- Lesson 2: About Slide Layout
- Lesson 3: Adding a Slide To a Presentation With a Particular Layout
- Lesson 4: Text Placeholders Within Layouts
- Lesson 5: Content Holder: Tables
- Lesson 6: Content Holder: Charts
- Lesson 7: Content Holder: SmartArt
- Lesson 8: Content Holder: Picture from File
- Lesson 9: Content Holder: Clipart
- Lesson 10: Content Holder: Media Clip
- Lesson 11: Changing a Slides layout
Section 4: Slide Design Themes and Animations
- Lesson 1: Introduction
- Lesson 2: Changing the Presentations Design Theme
- Lesson 3: Slide Transition Effects
- Lesson 4: Slide Animation Effects
Section 5: A Slide Master
- Lesson 1: Introduction
- Lesson 2: What Is a Slide Master?
- Lesson 3: Viewing the Different Slide Masters Available
- Lesson 4: Editing the Slide Master Placeholders
- Lesson 5: Adding an Image To a Slide Master
- Lesson 6: Adding Headers And Footers To Slides
Section 6: Text boxes And Drawing Objects
- Lesson 1: Introduction
- Lesson 2: Inserting Text Boxes
- Lesson 3: Formatting Text In Text Boxes
- Lesson 4: Adjusting Paragraph And Line Spacing
- Lesson 5: Editing Bullets And Numbering
- Lesson 6: Drawing Tools
- Lesson 7: Rotating And Flipping Objects
- Lesson 8: Adding Shadow Effects To Text And Shapes
- Lesson 9: Adding a 3D Effect
- Lesson 10: WordArt
Section 7: Arranging And Grouping Objects
- Lesson 1: Introduction
- Lesson 2: Aligning Shapes
- Lesson 3: Distributing Shapes
- Lesson 4: Grouping And Ungrouping Shapes
- Lesson 5: Order Of Shapes
Section 8: Presenting a Slide Show
- Lesson 1: Introduction
- Lesson 2: Running a Slide Show
- Lesson 3: Rehearse the Timings of Your Presentation
- Lesson 4: Annotating And Navigating Whilst Giving a Presentation
- Lesson 5: Hiding And Un-Hiding Slides
- Lesson 6: Creating Custom Shows
Section 9: Printing And Saving formats
- Lesson 1: Introduction
- Lesson 2: Printing a Presentation
- Lesson 3: Printing Handouts
- Lesson 4: Save And Send
- Lesson 5: Changing PowerPoint’s Default Options
- Lesson 6: Using the Help Function
Certification
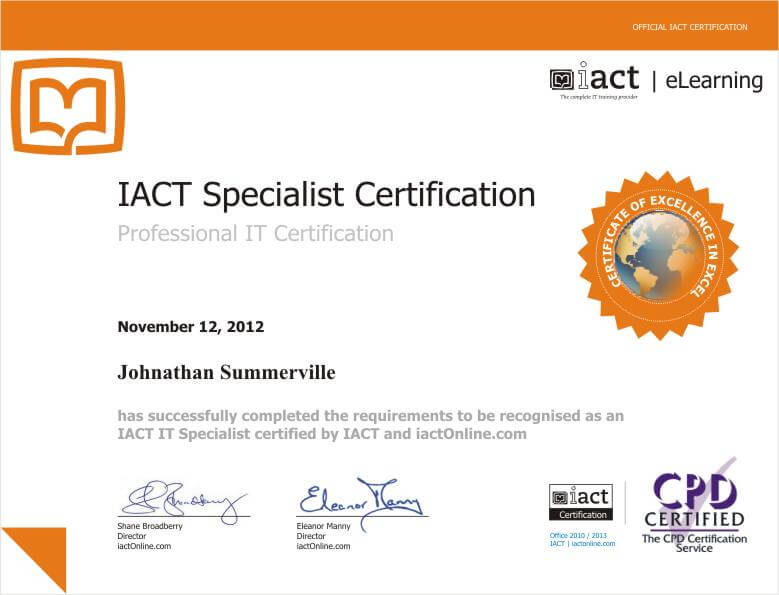
When you pass you will receive an internationally recognized accreditation certificate like this:

What’s next?
After you have completed the course you may wish to expand your office skills further, or perhaps try our Illustrator or Photoshop courses as you start to get into design.
